Snow Photography Tips and How to Capture White Snow
January 21, 2026 by Marie Joabar
Photographing your favorite subjects in the snow is a wonderful way to create lasting winter memories. Whether you’re capturing your kids building a snowman, exploring icy details with a macro lens, or framing a quiet wooded trail after a fresh snowfall, snow has a way of making ordinary scenes feel magical.
That said, exposing for snow can be tricky.
Why Snow Looks Gray in Photos
Your camera’s light meter is designed to interpret the world as a medium tone (often referred to as “middle gray”). When it sees a scene filled with bright white snow, it assumes the scene is too bright and automatically reduces exposure.
The result is often underexposed images with dull, gray-looking snow — even though the scene looked bright and beautiful to your eyes.
Fortunately, this is easy to correct once you understand how your camera is metering the scene.
Four Ways to Capture Bright, White Snow

1. Use Exposure Compensation to Adjust Brightness

If you’re shooting in Aperture Priority, Shutter Priority, or Program mode, Exposure Compensation is the fastest fix.
- Look for the +/- symbol on your camera.
- Dial exposure toward the plus (+) side by 1 to 2 stops.
- As a reference:
- 0.3 = ⅓ stop
- 0.7 = ⅔ stop
- 1.0 = one full stop
This tells your camera to add light back into the scene so snow appears bright and white.
2. Lock Exposure on a Neutral-Toned Subject
Another effective option is Exposure Lock.
- Aim your camera at something neutral in tone (gray, tan, or even blue sky).
- Press and hold the Exposure Lock (AEL) button.
- While holding it, recompose your scene and take the shot.
This works best with spot metering, or by filling the frame with the neutral subject before locking exposure.
3. Shoot Snow in Manual Mode
If you’re comfortable using Manual mode:
- Spot meter the snow.
- Adjust shutter speed or aperture until the exposure scale shows +1 to +2 stops.
- Each tick on the meter typically represents ⅓ of a stop.
Manual mode gives you full control and is an excellent way to better understand exposure.
4. Use the Snow/Sand Scene Mode
If you’re shooting in Auto mode, check to see if your camera has a Snow/Sand scene setting. This mode is designed specifically for bright, reflective subjects like snow.
Additional Tips for Better Snow Photography
- Use a low ISO for Snowy Scenes
Snow is bright, so keep your ISO low — ISO 100 or 200 is ideal, especially on sunny winter days.
- Adjust Color Casts with White Balance
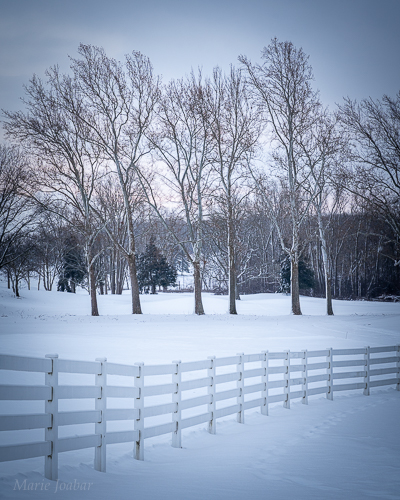
Use the camera's White Balance setting to evoke mood. On cloudy snowy days, images can take on a blue cast conveying a cold feeling.
- Try Cloudy White Balance to add warmth to a scene.
- Try Sunny White Balance for a natural look.
- If shooting at night with streetlights, consider Auto WB.
Experiment to see which works best for the scene.
- Protect Highlights with the Histogram and Alerts
- Enable your camera’s highlight alert (“blinkies”) to warn you if you’re overexposing bright areas. You may need to turn this setting on, look at your camera manual for how to.
- Use the histogram as well: Snowy scenes should lean toward the right side. Just make sure the data doesn’t pile up against the edge, which indicates blown highlights. If it does, slightly reduce exposure and retake the shot.
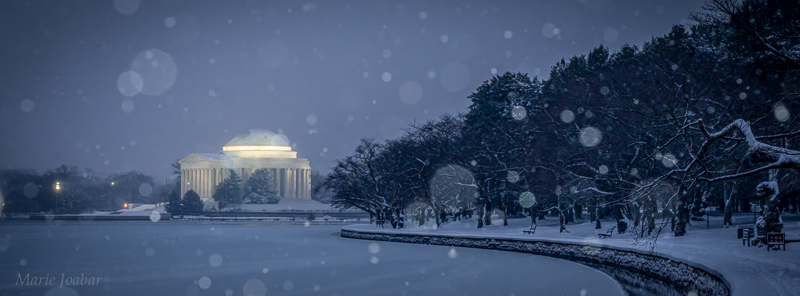
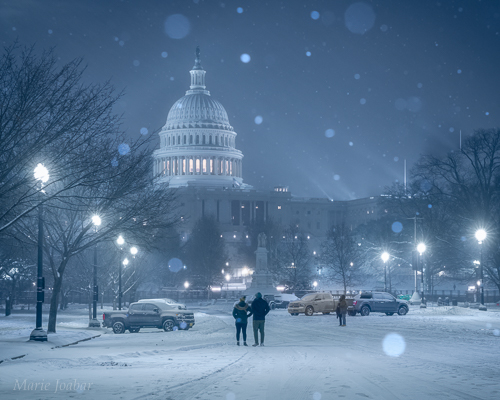
- Use a Flash to Capture Falling Snow Flakes
- Another fun technique is using your camera’s flash to photograph falling snow. The flash illuminates nearby snowflakes, turning them into soft, blurred white orbs that add texture, motion, and visual interest to an image.
- The effect can be playful lends a magical, snow-globe effect.
- If the flakes are too bright, try dialing down the strenght of the flash with the Flash Compensation setting.
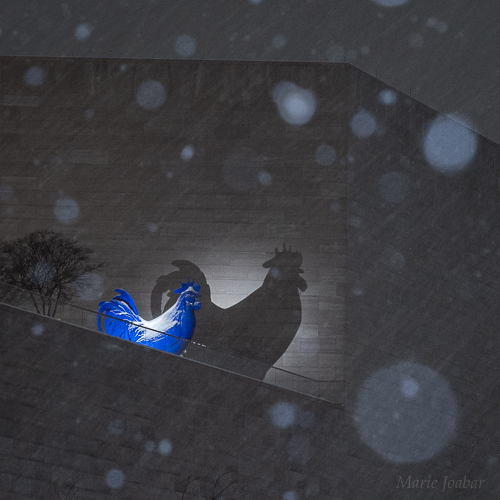
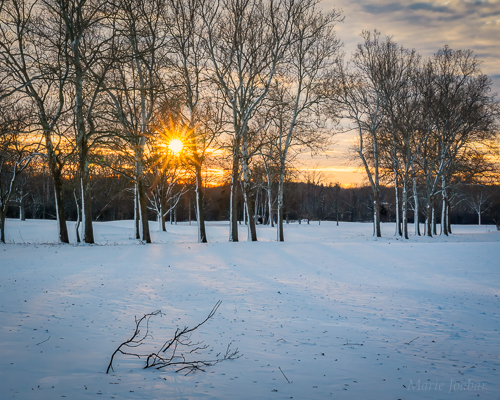
- Look for Shadows, Shapes, and Black & White Opportunities
The lack of color can add drama and simplify compositions beautifully. Winter is a great time to focus on:
- Shadows and silhouettes
- Strong shapes and patterns
- Black-and-white photography
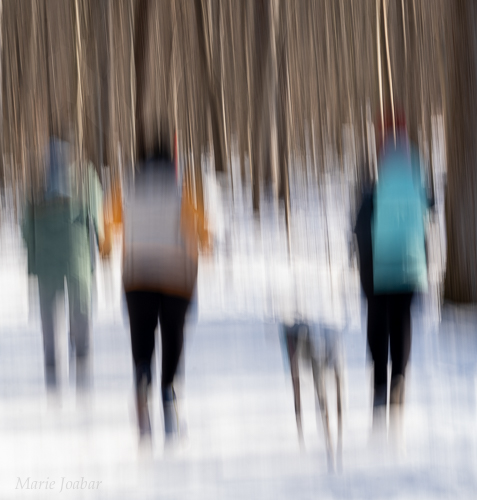
- Think Outside the Box and Capture Creatively
Try using Intentional Camera Movement (ICM) to create unique images that convey a sense of whimsy!
- Use a slow shutter speed to allow enough time to move the camera during the exposure.
- When using ICM in daylight, you may need a circular polarizer or neutral density filter to prevent overexposure while maintaining a slow shutter speed.
- Types of motion to try:
- Swipes: Move the camera vertically or horizontally.
- Zooms: Zoom the lens in or out during the exposure.
- Jiggles: Gently jiggle the camera for a soft, painterly effect.
Final Thoughts on Photographing Snow
Snow doesn’t last forever, and when it’s fresh and glowing, almost anything you photograph can feel special. Don’t let your camera’s meter hold you back — take control of your exposure, add light when needed, and enjoy creating beautiful winter images while you can.