10 Tips For Shooting the Moon
July 10, 2019 by Marie Joabar
July gives us the Thunder Moon, so named by the Algonquin when spectacular electrical storms would rake the skies. Another common name is the Buck Moon referencing the new antlers which grow on deer buck's foreheads around this time.
You’ll find more fun moon facts at the end of the article but here are 10 helpful tips for photographing it.
1. Scout Out Areas Ahead Of Time
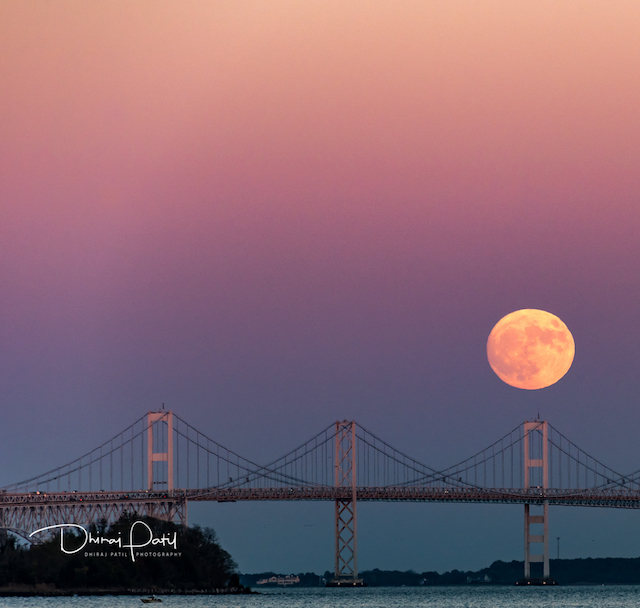
 If you simply want the moon in the sky, look for areas where you can capture the moon close to the horizon and low in the sky. It’s always more colorful at this time and it appears larger as well.
- If you want to include foreground landscapes or buildings, find your spot ahead of time to make sure you’ll have the best vantage point based on where the moon will be in the sky.
2. Use An APP
- Use apps to determine the moon’s track across the sky, the moonrise time and the location of moonrise and moonset.
- The Photographer’s Ephemeris is quite handy for this, it also lists the sunrise time, and civil and nautical twilight times.
- Moon Seeker is another.
3. Determine Which Day And What Time Is Best To Shoot The Moon
- Although the moon is only truly full on one day, the day before and the day after can offer fantastic photographic opportunities as 98 to 99% of the moon is still visible.
- The biggest factor to consider when planning is the time that the moon rises (or sets). Not so good if it rises or sets at 3:00 in the afternoon. Being able to capture it during the 20 to 30 minutes of Nautical Twilight time is just perfect. This is the time after daylight and before nighttime when the sky is a beautiful blue. Before this time, the sun has set but there is still a lot of light in the sky. After this time, the sky is black.
- The full moon is on July 16 and this is the perfect day to capture it as it rises at 8:36pm (after the sun sets) and it sets at 5:32am (before the sun rises).
- Timing - When the moon is low in the sky it appears orange in color because the Earth’s atmosphere scatters the bluish elements while the reddish elements remain visible. The higher it rises, the brighter and whiter it becomes.
4. Exposure Settings
- The full moon is fully lit by the sun and brighter than you might think. Expose for it just as you would for other sun-lit objects.
- Many people over expose the moon because the camera meter reads the darkness of the sky and determines a long exposure is needed.
- Best results can be had when shooting in the manual mode.
 SHUTTER - Don’t be fooled into thinking you need a long exposure. The moon is moving across the night sky, a long exposure will render it blurry and cause it to be over exposed and lacking detail. Use a shutter speed of 1/30 or faster.
APERTURE - The Aperture setting won’t be important unless you have foreground elements. If they’re off in the distance, f8 should work fine, if they’re closer, try f11. If there are no foreground elements, f8 is a good setting to use.
ISO - A high ISO setting will cause digital noise (graininess) in the dark sky. A low ISO setting will help keep it to a minimum. ISO 200 or 400 should work fine.
- Below are some exposure values to start with. These are just suggested settings, there is no one correct exposure setting for shooting the moon. Much depends on the atmosphere, how high in the sky it is, whether there’s still light in the sky, whether you include the foreground or just the moon, etc.
Aperture f8, Shutter 1/60, ISO 100 or Aperture f11, Shutter 1/125, ISO 200
5. Check for Over Exposure
- Activate your camera’s Highlight alert, anything that blinks in the Playback mode is overexposed. As you’re shooting, check that you don’t over expose the moon. If so, lower the ISO, speed up the shutter speed or close the aperture.
6. Multiple Exposures
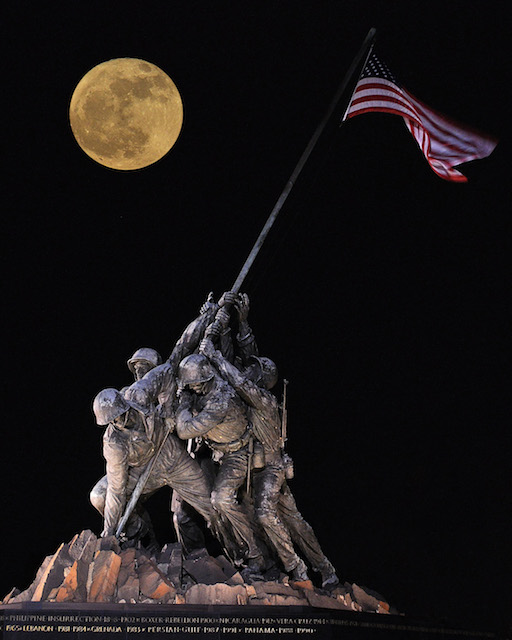
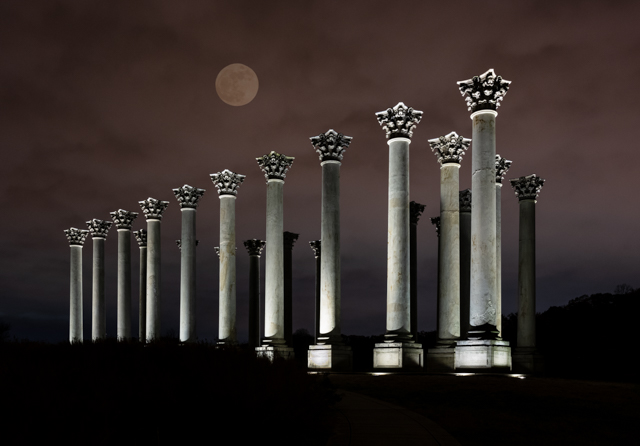
- Sometimes the only way to capture both the moon AND the darker foreground landscape is with a multiple exposure set to 2 exposures (unless you’re capturing the moon just after sunset when there is still a lot of light in the sky). Otherwise use a multiple exposure and capture 2 images:
- Take one exposure set for the brightness of the moon.
- Take another longer exposure to capture the darker night landscape scene.
- With the multiple exposure turned on, the camera will merge the 2 images in-camera.

- If your camera doesn’t offer multiple exposures, merge the 2 photos together with Photoshop.
- You could also try using Image Overlay if your camera has it, (Nikon cameras do, other brands most often don’t but check your camera manual to be sure.).
7. Focusing can be difficult in the dark.
- Leave Auto-Focus off and manually pre-set the focus on the moon. If capturing the moon and foreground elements, focus on the foreground elements.
- Line up the focusing point on an edge of the moon or the edge of a landscape element so there’s something for the focus to grab on to.
- Even though you are manually focusing, you’ll still get focus confirmation indicated by a solid dot in the very bottom of the viewfinder. If you are not in focus the dot won’t appear.
- Zoom in on playback to make sure your images are in focus.
8. White Balance
- Try Auto or Daylight but also experiment. Cloudy will warm up the moon and may give it an orange glow, Tungsten will give it a cooler tone.
9. Gear
- Tripod - A sturdy tripod and a remote or cable shutter release are a must for any moon, astro or nighttime photography. Turn off Vibration Reduction or Image Stabilization when using a tripod.
- Lenses -To make the moon large and not just a speck in the sky use a telephoto lens of at least 200mm. If capturing the moon and foreground elements, a shorter (wider) lens such as an 18-70mm might work better depending on the distance of the foreground elements.
10. Be prepared
- Check your camera settings and get your gear bag in order before heading out to photograph at night.
- Carry a small flashlight to see camera controls, inside your camera bag and the tripod mount, etc.
Future Classes
Join us at our Moon Over the Capital Columns class at the National Arboretum. With special access, we photograph the moon with the lighted Capital Columns in the foreground.
 These are offered at various time throughout the year.
Fun Moon Facts
The next full moon, in August, is call the Sturgeon Moon because of the large quantity of fish in the lakes where the Algonquin tribes fished. The reddish appearance of the moon through the frequent hazy skies of August also prompted a few tribes to label it the Red Moon. Other names included the Green Corn Moon and the Grain Moon.
** “It takes the Moon 29.53 days to orbit completely around the Earth in a full lunar cycle. During this time, the Moon will go through each phase. Since the Moon’s orbital journey takes a little less than a full month, when you click on future dates you’ll notice that depending on the exact number of days in that month, the Full Moon occurs a day or two earlier each month.
The four  main Moon phases in order are the New Moon, First Quarter Moon, Full Moon and Last Quarter Moon. These phases occur at very specific times and are measured by both the Moon’s luminosity and how far along the Moon is in its orbit around Earth.
- The New Moon Phase occurs when the Moon is completely dark with zero-percent luminosity.
- The Full Moon Phase is completely bright with 100-percent luminosity.
- The First and Last Quarter phases happen when the Moon is exactly half illuminated, with 50-percent luminosity."
It wasn’t until the 16th century that our understanding of the Solar System evolved. In the early 1500s Astronomer Nicolaus Copernicus developed a model of the Solar System where Earth and the other planets orbited around the Sun, and the Moon orbited around Earth. One hundred years later Italian Astronomer Galileo used one of the first telescopes to observe the terminator and deduced from the uneven shadows of the Waning Crescent Phase that the Moon’s surface was pocked with craters and valleys and ridged with mountains."** (**From https://www.moongiant.com/calendar/)
Prior to the 1500s, the belief was that Earth was the center of the Universe and the moon, sun and the stars revolved around it.
We hope this article helps you capture amazing moon images in what ever month you decide to photograph it. Perhaps we'll see you at one of our classes.
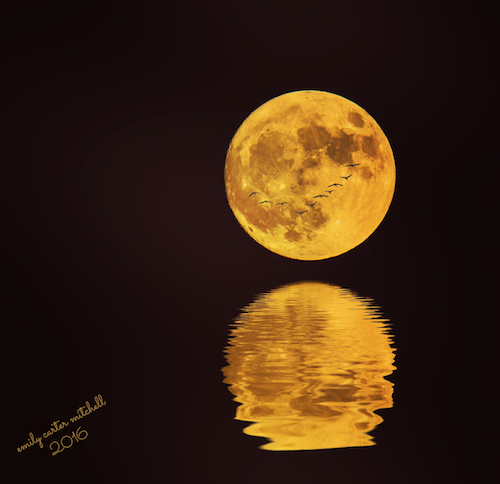
Photo credit and exposure information - from the top
Dhiraj Patil - f9 1/125 ISO 400
Beth Haubach - The moon was added by using Photoshop.
Multiple exposure - 1 image exposed for the landscape, 1 image exposed for the moon, merged in-camera through the multiple exposure setting.
Marie Joabar - The moon was added using Photoshop.
Emily Carter Mitchell - f8 1/200 ISO 320
