Color Settings For Fall Captures
October 12, 2016 by Marie Joabar
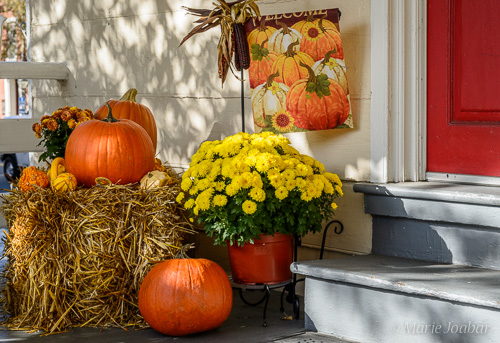
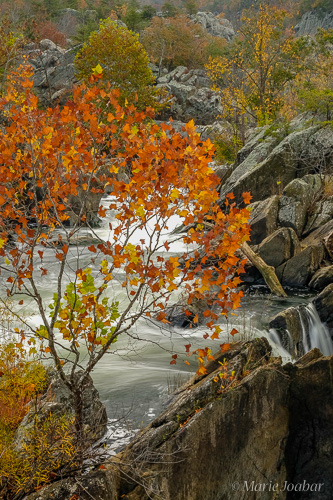
We’ll soon find ourselves surrounded by fall’s beautiful colors and warm tones and it’s always a joy to photograph. Whether you’ll be taking a stroll around the Tidal Basin or enjoying an afternoon hike on the trails, grab your camera and bring the autumn display back home with you.
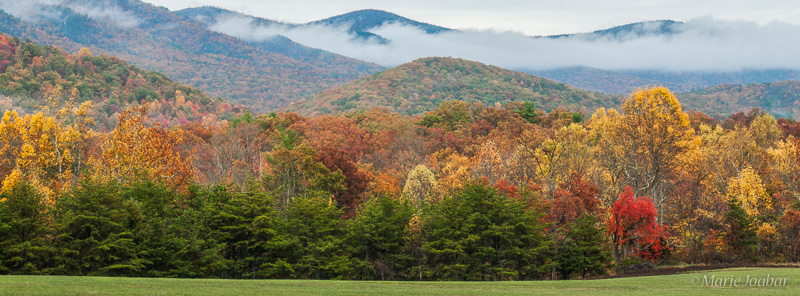
Using two of our camera’s color settings we can emphasize the autumn shades even further for an image with more pop.
Let’s look at the two settings that can affect the color in our photos: White Balance (WB) and Picture Styles (may be called Picture Controls on some cameras).
White Balance
 The White Balance setting lets us to tell our camera the color of the light we’re photographing under. The default setting of Auto White Balance (AWB) allows the camera to determine the color of the light and corrects for any color cast. If we take it off of Auto WB we can choose this for ourselves.
For example, on a fall day try setting your camera to the cloudy WB option to add a bit more orange to the scene thereby warming up the image. Try shade too. The light from a cloudy day or shade is blue so our camera will add orange to help eliminate the blue.
As you can see, our camera adds the opposite color of the light we’re in to correct for the color cast. With that in mind, we can creatively select a WB option to enhance our images.
Experiment with this and decide if your fall scene can use some added warmth or not.
Picture Styles
 The Picture Style color setting might also be fun to play with in the fall. This can be found as a button on some cameras (see icon below) and in the menu on others.
![]() Choose color options such as Vivid (for more saturated colors), Landscape (good contrast and saturation), Neutral or Standard (these are the normal tones…more or less as we see things), Portrait (nicer skin tones and less contrast), black and white (listed as Monochrome), and so on. It also affects contrast and sharpness but the main point here is the color options it offers. Try using Vivid or Landscape for your scenic images (but not if people are in the shot).
Choose color options such as Vivid (for more saturated colors), Landscape (good contrast and saturation), Neutral or Standard (these are the normal tones…more or less as we see things), Portrait (nicer skin tones and less contrast), black and white (listed as Monochrome), and so on. It also affects contrast and sharpness but the main point here is the color options it offers. Try using Vivid or Landscape for your scenic images (but not if people are in the shot).
If you’re shooting using JPEG compression, the color settings you choose will be “baked” into the file and will be difficult to change after the fact so it’s a good to take a few shots, each with different a color setting so when you look at the images on your computer, you can decide which you like best.
If you’re shooting in the Raw format, disregard the Picture Styles settings as those won’t be applied to a Raw file. The WB setting on a Raw file can easily be changed using a slider (with editing software such as Lightroom) but it’s still a good idea to choose this setting in your camera to put yourself in a better starting point when editing.
Here’s hoping we’ll have a colorful fall show this year and even more, here’s hoping you’ll enjoy getting out there to capture it!