Insight on High Dynamic Range Capture
July 29, 2013 by Marie Joabar
 Many times at our shooting classes participants find themselves faced with scenes in which the dynamic range is beyond the normal 5 to 6 stops of light that cameras can capture. The sky is super bright and the sun is casting deep, dark shadows. In cases like this we’re often asked, “How can we capture this scene?”
To which we reply that we can expose for the bright highlights OR we can expose for the dark shadows but unfortunately, we can’t capture both in the same frame.
So the options might be;
• To come back at another time of day when the scene is more evenly lit.
• Expose for the bright area and use the flash to fill in the shadows (if the shadowed subject is close enough).
• Bracket the scene and merge the photos in Photoshop or in HDR specific software. (Bracketing is taking a series of photos, usually between 3 to 5 frames, each at a different exposure value. By merging these bracketed frames with HDR software, one can build images with incredible range and detail.
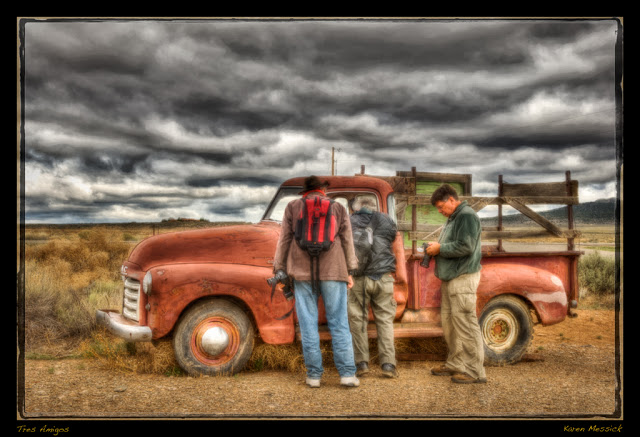
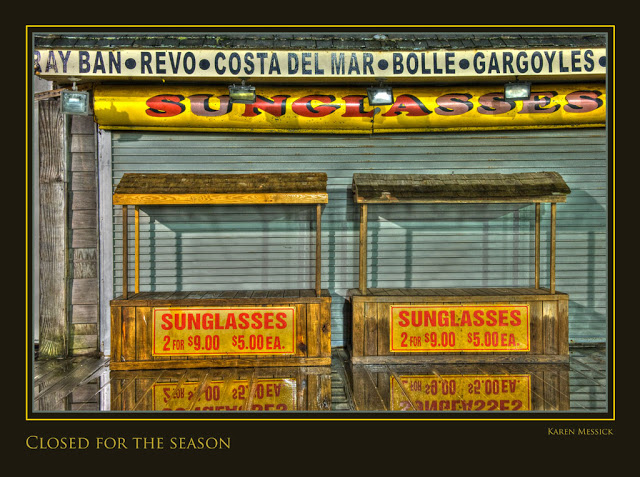
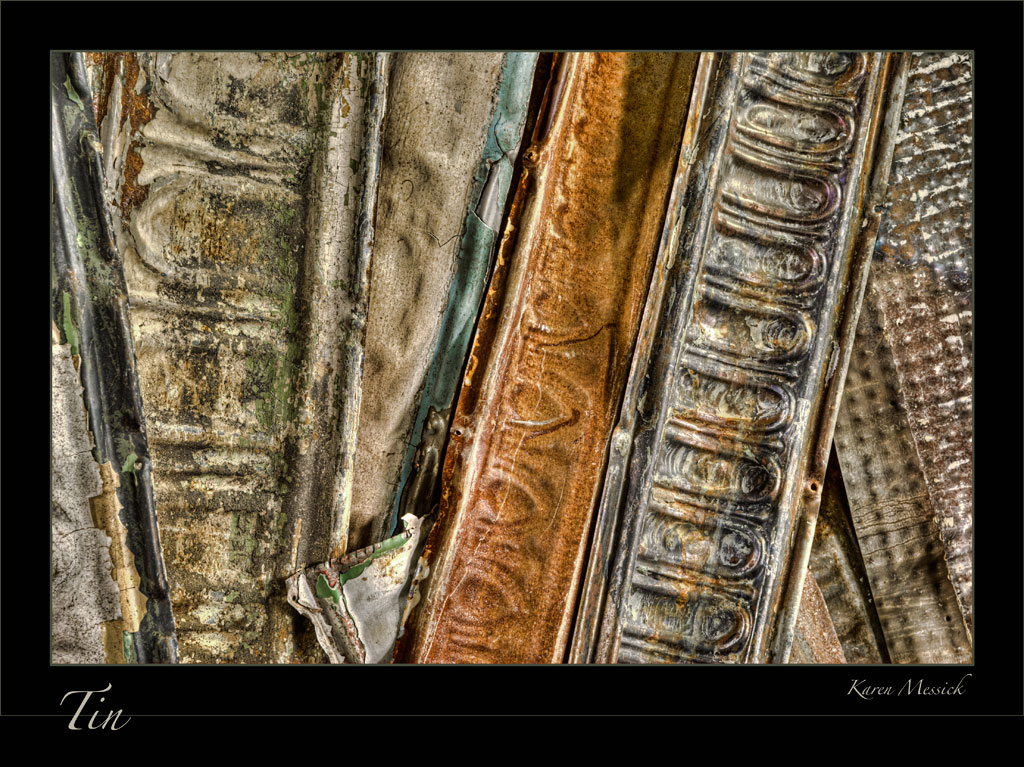
 Instructor Karen Messick finds shooting high dynamic range scenes allows her to control the light on important subjects in an image. Combining bracketed shots allows her to reveal subjects that might otherwise be lost in the dark shadows or bright highlights.
Some newer cameras offer HDR in-camera and if yours offers that option you may find it handy but you’ll have far more control using bracketed images than using the auto HDR in-camera. Plus, the fun is putting the frames together after the fact and exploring the many options that the creative software offers.
Karen likes to use either the Nik HDR Pro or Photomatix software. She says, “These programs are designed for the sole purpose of blending images and I believe they have superior algorithms for doing that with many preset options for a starting point in processing. Once the shots are combined I then use Photoshop for further image adjustments.”
You don’t have to be an advanced photographer to be able to enjoy HDR photography, shooting bracketed images is fairly simple and blending images is made simple by customized software programs.

A few tips;
• It’s best to capture scenes or subjects that are still and it’s important to have the camera on a tripod as well.
• Check your histogram after a series of brackets to ensure you have captured enough detail on each end of the light and dark scale.
• Keep the aperture value the same so the depth of field and apparent area of focus is the same in each frame.
• Since you’re on a tripod your shutter speed can be set to where it needs to without concern for shake from hand holding.
Join Karen Messick at an HDR Photography class and learn hands-on how to shoot bracketed images and understand the dynamic range of light in the scene using your histogram as a feedback tool. Karen will teach you how to combine and process your bracketed images in Nik HDR Pro and Photomatix and will also show her process for a finishing an image in Photoshop.
The next date for this class is on August 4th and our venue is the Second Chance Architectural Shop in Baltimore. If you enjoy photographing old architectural items such as tin moldings, spindles, columns, fireplace mantels, marble friezes and doors that have been reclaimed from old buildings, Second Chance has it all. A large warehouse with skylights, it offers great opportunities to shoot for HDR. We hope to see you there. Click this link for more info or to register. http://bit.ly/1aUOnyQ
We’ll offer this class on other dates and locations through out the year so check back to the website from time to time or watch for updates in our Newsletter.
All photos courtesy of Karen L. Messick
