Travel Tips for Photographers
June 16, 2021 by Marie Joabar
 Summer is here and after a more than a year of Covid, who doesn’t want to travel and explore beautiful locations to photograph again?!
There’s a lot to think about when traveling with your gear but the first consideration is deciding WHAT camera equipment to take and then, HOW you’re going to take it. Also think about how to get the best shots and how to back up images as you travel.
What gear to take
For compact camera owners, it’s simple enough to throw your camera in its case with an extra battery and memory card into your carry-on, pack the battery charger and manual in your checked bag. DSLR and Mirrorless camera users have more decisions to make starting with which lenses to take, whether or not to take your tripod and how you’re going to carry it all. Ask yourself what you intend to photograph while on your trip and let your answer dictate what to bring.
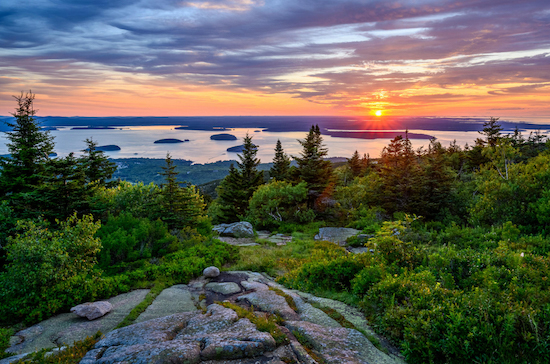
- If your itinerary includes beautiful views and vistas, you’ll want your wide angle lens but don’t forget about the telephoto for candid shots or close-ups of any interesting finds.
- If you have lenses or accessories that you rarely use when you photograph at home, ask yourself if you’ll really use them on your trip. (Chances are, you won’t so leave them home.)
- Any combination of lenses ranging from 18mm to 200mm would cover most of what one would shoot on a typical vacation. (However, below 18mm is great for extreme wide angle shots (indoors at cathedrals, museums and such), and longer than 200mm is good for wildlife and birding.)
- Include a circular polarizing filter for your outdoor, sunny day shots to help reduce glare giving you richer saturation and crisp images. These are also useful to take the reflections off water or storefront windows.
- Another great filter for you landscape shooters is a graduated Neutral Density filter to help darken the bright sky when framing it with a darker foreground.
- A flash unit for fill-flash if your camera doesn’t have one built in.
- Extra batteries, the charger, and memory cards… don’t leave home without them.
- If you’re traveling to a remote location, consider taking a second camera just in case something happens to your main camera. It would be sad to have done all the planning for a great trip only to have your camera go out of commission in the middle of it.
How to carry your gear
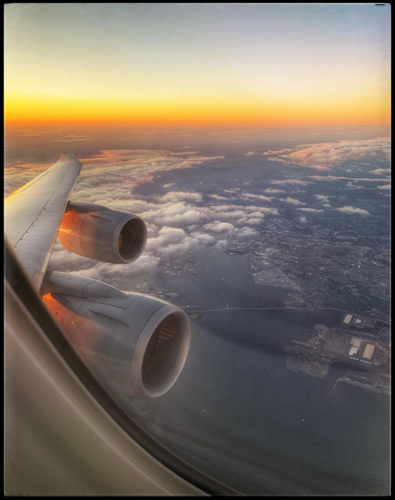
Some people use one case to get their gear to their destination and another once they get there. This is especially helpful when flying.
- For security reasons it’s always better to carry on your expensive gear rather than check it, cameras and lenses fit this category. Flash units, filters, and other accessories can go in your checked bags.
- Look for camera bags that fit into the overhead bin. If your bag is too big to fit, take out the camera body and lenses, wrap them in some clothing, and place them in your carry-on bag (purse or backpack) that will fit under the seat. Your camera bag can still contain some non-sensitive things like filters, cables, etc. just fill the remaining spaces with clothing for padding. This way it can be checked and you will have it upon arrival but you don’t have to worry about damaging your valuables.
- Don’t be caught off guard. Double check with each of the airlines that you are using that your carry-on bags fit their size requirements (see links below).
- Photo vests offer a nice alternative and can help with baggage weight restriction on airlines.
- When stowing gear, take the lenses off your cameras and pack them separately to reduce the risk of damage.
- Tripods are challenging. Although we can take them as carry-on, it’s usually easier to put them in your checked bag. Remove the head if length is an issue and wrap clothing around each leg and then sandwich it in between more clothes in the bag.
- Pack your spare Li-ion batteries in your carry on as required by TSA. Place each battery in its own protective case or plastic bag, to keep the contacts from touching each other which can cause short-circuiting.
- On your checked bags, use TSA approved locks so the agents can access your luggage if needed.
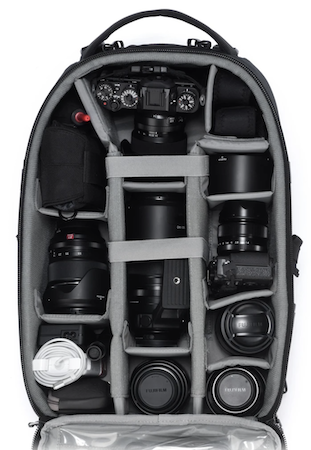
- Once at your vacation spot, consider a backpack, a holster bag or some other easy way to move around with your gear comfortably.
- Depending on where you are going, be street smart and try not to use a bag that announces to the world that you’ve got a camera.
Once you arrive it’s time to start shooting. Hopefully you’ve done a bit of research before your trip so you have an idea of where the photo opportunities are. Don’t plan out every detail, sometimes the best opportunities come along when we least expect or plan for them.
Tips for better travel and vacation photos
 Everything looks better when it’s bathed in the warm, early morning or late afternoon sun so plan your best shots for that time.
- On a sunny day, the mid-day light is too harsh with a lot of contrast and dark shadows. Use this time to shoot subjects indoors, scout out future areas, enjoy lunch, or just rest instead of photographing.
- Take advantage of cloudy days for the even light and mood they provide.
- Buildings look better in sun so determine the direction they face and photograph them sunlit.
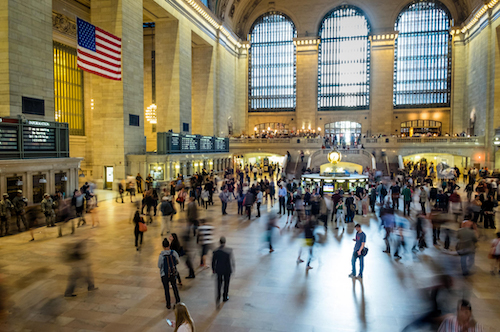
- Include people in some of your scenes for local color and interest. Also, people in the shots can make them more marketable to tourist organizations like Chambers of Commerce, state tourism departments, etc.
- If you’re location portraits, people look better in shade where they won’t have dark shadows in their eye sockets or under their chin. If they’re in the sun, use a bit of fill-flash to open up the darker shadow areas.
- When photographing your family or friends in front of a landmark, place them off to the side of the frame and compose showing the upper half of their body with the landmark behind them. The focus point should be on them, not the landmark.
- Look for pictures within pictures. Work an area; take a photo of the entire scene, then move to a different spot and see what the view from that vantage point looks like. Zoom in close, shoot up, shoot down, move around. There are many photos in a scene all for the taking if we just move around and zoom in and out.
- No one knows an area better than those that live there. Talk to the locals – they may help you discover a hidden gem off the beaten track.
Storing and or backing up your images
 Take a laptop and an external hard drive and backup your files to the computer and external drive at the end of each day.
- If you don't want to travel with a computer, buy several large capacity memory cards and save downloading until you return home (use care that these are not lost, stolen or damaged since there is no back up).
- Some cameras offer the option to have the second memory card act as a backup for the first card. This is a smart option, just make sure to store them in separate bags.
Once home download, back up and enjoy the memories. Look through your images, pick out your favorites and have fun sharing them. 
TSA Tips and PreCheck
- It's a good idea to review the TSA website as restrictions change. https://www.tsa.gov/ and https://www.tsa.gov/coronavirus
- Consider applying for TSA PreCheck. Visit this link, take 5 minutes to fill out the online application, plan an in-person visit to an office near you and in as little as 2 or 3 weeks, you’ll have the approval for 5 years. This will save you time as you go through the security check points. https://www.tsa.gov/precheck
Links to airline carry-on size requirements:
American - http://www.aa.com/i18n/travelInformation/baggage/carryOnAllowance.jsp
Delta - http://www.delta.com/content/www/en_US/traveling-with-us/baggage/during-your-trip/carry-on.html
Jet Blue - http://help.jetblue.com/SRVS/CGI-BIN/webisapi.dll?New,Kb=askBlue,case=obj%28633%29
SouthWest - http://www.southwest.com/html/customer-service/baggage/carryon-bags-pol.html
Spirit - https://customersupport.spirit.com/hc/en-us/articles/202096476-What-are-the-size-and-weight-limits-for-bags-
Frontier - https://www.flyfrontier.com/travel/travel-info/bag-options/?mobile=true
Happy travels and good shooting wherever you go!
