Understanding ISO: From Film to Digital
January 23, 2025 by Marie Joabar
Whether you're shooting your child's soccer game or capturing the Milky Way, understanding ISO is a crucial part of the exposure equation.
Simply put, ISO controls how sensitive your camera is to light. Use low ISOs for bright conditions or bright subjects. Use high ISOs for low light, dark scenes or dark subjects.
Every photographer faces the challenge of shooting in less-than-ideal light. Once limited by film sensitivity, today's digital ISO capabilities have transformed what's possible in challenging light.
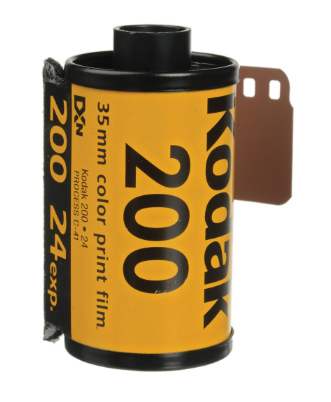
ISO's Film Origins
In film photography, ISO (International Organization for Standardization) indicated film sensitivity to light. Lower ISO films (50-200) required more light (think bright sunny days) and produced cleaner images, while higher ISO films (400-3200) could shoot in darker conditions but showed visible grain. Photographers had to commit to one ISO for the entire roll of film, typically 24 or 36 frames.
Digital Revolution: ISO Reimagined
Digital cameras transformed ISO from a physical roll of film to an amplification of the sensor's signal. This fundamental change brought two major advantages:
- Adjustable ISO for each shot rather than an entire roll
- Significantly improved high-ISO performance through advanced sensor technology
Modern ISO Capabilities
< Today's cameras offer remarkable ISO ranges. Entry-level cameras typically range from ISO 100-25,600, while professional models can reach ISOs up to 102,400 or higher. More importantly, the "usable" range has expanded dramatically. Images shot at ISO 6400 on newer cameras often show less noise than ISO 1600 photos from cameras a decade ago.
Low Light Performance Evolution
Additionally, digital camera sensor improvements have revolutionized low-light photography:
- Larger photosites (pixels) capture more light
- Enhanced signal processing reduces noise
- Dual gain ISO technology provides cleaner high-ISO images
- Back-illuminated sensor designs increase light sensitivity
What was once impossible is now routine: shooting handheld in dim churches, capturing evening sports events, or photographing wildlife at dusk.
Common Shooting Scenarios and ISO Selection

Bright Outdoor Settings (ISO 100-400)
- Sunny beach portraits, very bright scenes: ISO 100
- Overcast landscape photography: ISO 200-400
- Sports in bright daylight: ISO 400-800
Indoor and Low Light (ISO 800-3200)

- Indoor events without flash: ISO 1600-3200
- Concert photography: ISO 1600-3200
- Museum photography (no flash allowed): ISO 800-1600
- Indoor sports: ISO 1600-6400
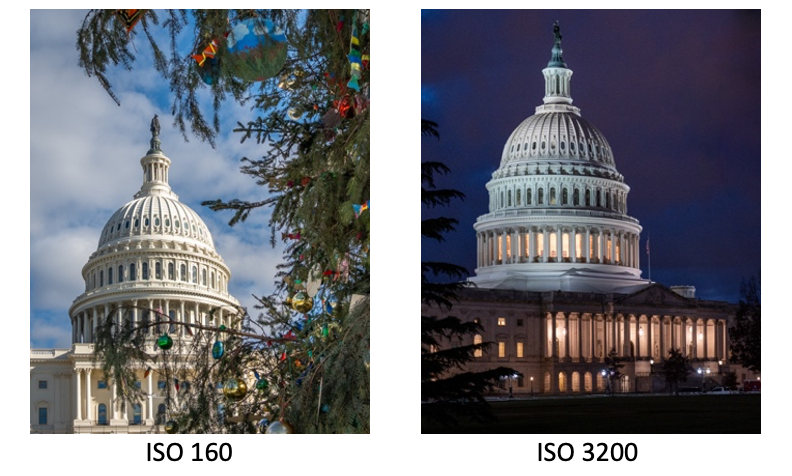
Challenging Light Conditions (ISO 3200-6400+)
- Blue hour cityscapes: ISO 3200
- Indoor ceremonies in dimly lit churches: ISO 3200-12800
- Theater performances: ISO 3200-6400
- Wildlife at dusk: ISO 3200-12800

Extreme Low Light (ISO 6400+)
- Milky Way photography: ISO 3200-12800
- Northern Lights: ISO 3200-6400
- Night street photography: ISO 6400+
- Indoor basketball in poorly lit gyms: ISO 6400+
Note that these ranges are general guidelines - your specific camera's capabilities, lens choices and the exact lighting conditions will greatly influence the optimal ISO choice.
Auto ISO as an Option
Many photographers shooting in in Manual and Aperture Priority Modes use Auto ISO for ease of use and a quicker response to rapidly changing lighting.

Advantages:
- Maintains desired shutter speed while optimizing exposure
- Quickly adapts to changing light conditions
- Prevents accidental underexposure
- Allows one to focus on composition rather than settings
Disadvantages:
- May choose higher ISO than necessary
- Can lead to inconsistent noise levels across a series
- Might not recognize artistic intent for darker exposures
- Could hit ISO limits without warning
- If you’re just learning about exposure, using Auto ISO might hinder your understanding of how ISO works and fits in the exposure triangle.
Tips If Using:
- Set Auto ISO minimum to base ISO (base is the lowest the camera offers)
- Define maximum ISO based on your camera's capabilities and personal noise tolerance
- When using Auto ISO, monitor the chosen values to ensure they align with your goals
- Consider turning off Auto ISO for studio work or when consistent noise levels are crucial
Remember: while modern cameras handle high ISOs admirably, using the lowest ISO possible for your shooting situation will always yield the best image quality.
Managing Digital Noise in Post-Processing
Modern software offers powerful solutions for handling noise in high-ISO images. Use caution, reducing or removing noise can make an image look plastic if not applied well. Remember that some noise can add character to an image - the goal isn't always to remove it completely, but rather to manage it effectively for your creative vision.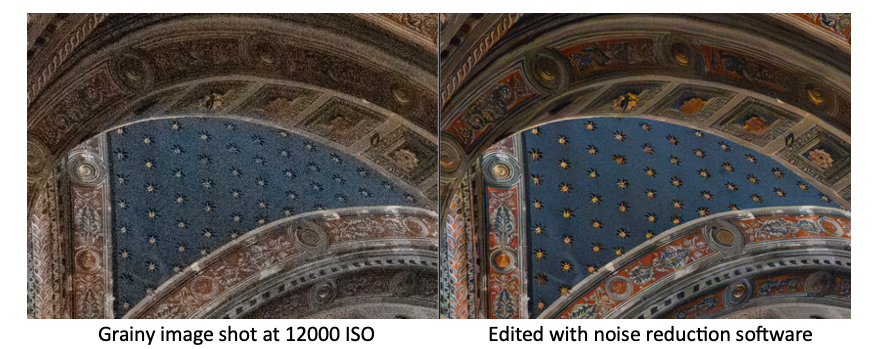
Popular Software Options
- Adobe Lightroom and Capture One provide integrated noise reduction within their raw processing workflows
- Specialized AI-powered tools like Topaz DeNoise AI, Topaz Photo AI, and DxO PureRAW excel at preserving detail while removing noise
Key Techniques
- Apply noise reduction early in workflow
- Find the balance between noise reduction and detail preservation
- Use selective editing to maintain detail in important areas. Apply stronger reduction to shadows. (Noise loves shadows)
- Zoom to 100% while adjusting settings
- Use separate luminance noise reduction and color noise reduction
- Consider keeping some noise for natural look
Common Pitfalls
- Over-smoothing leading to plastic look
- Losing detail in attempt to remove all noise
- Applying too much color noise reduction
Understanding ISO is key to mastering exposure. While it may seem technical at first, today’s cameras and post-processing tools have made working with ISO more intuitive than ever.
The key is understanding when to embrace higher ISOs for capturing moments that might otherwise be impossible, and when to prioritize the cleanest possible image at base ISO. With practice, managing ISO will become second nature, allowing you to focus on what truly matters – creating compelling images that tell your story.